-
Posts
13,692 -
Joined
-
Last visited
-
Days Won
38
Content Type
Profiles
Forums
Events
Everything posted by luvdunhill
-
-
It goes in here - I just not sure what Lowthers to go with? anyone tried the Fugoo speakers? Something like that which ran off sdcard memory would be pretty sweet..
-
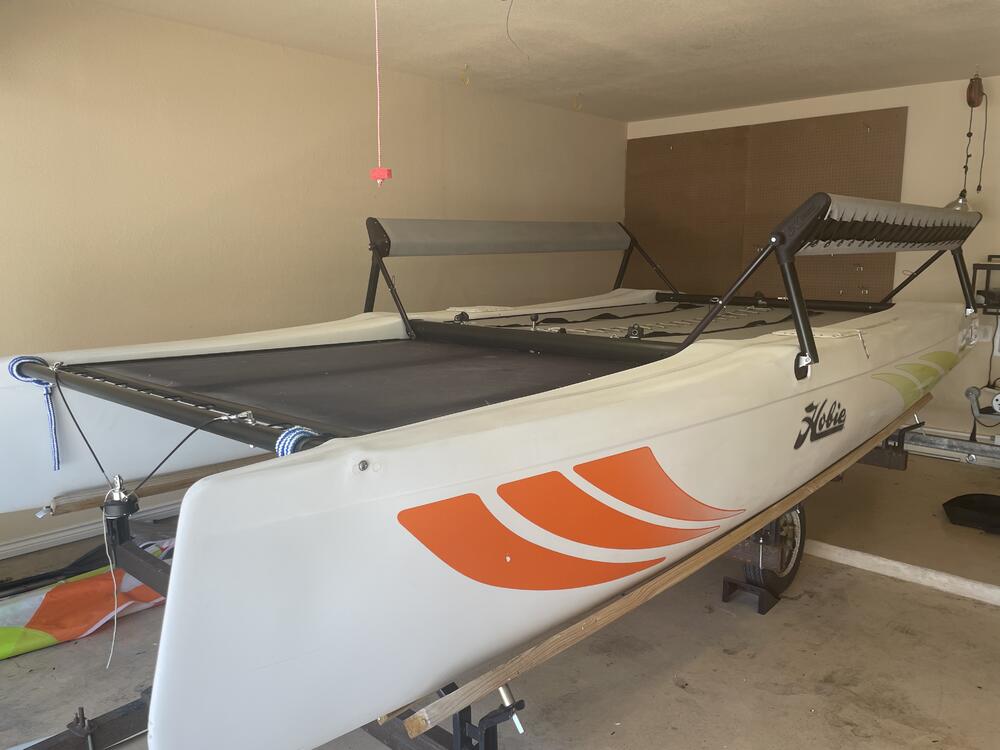
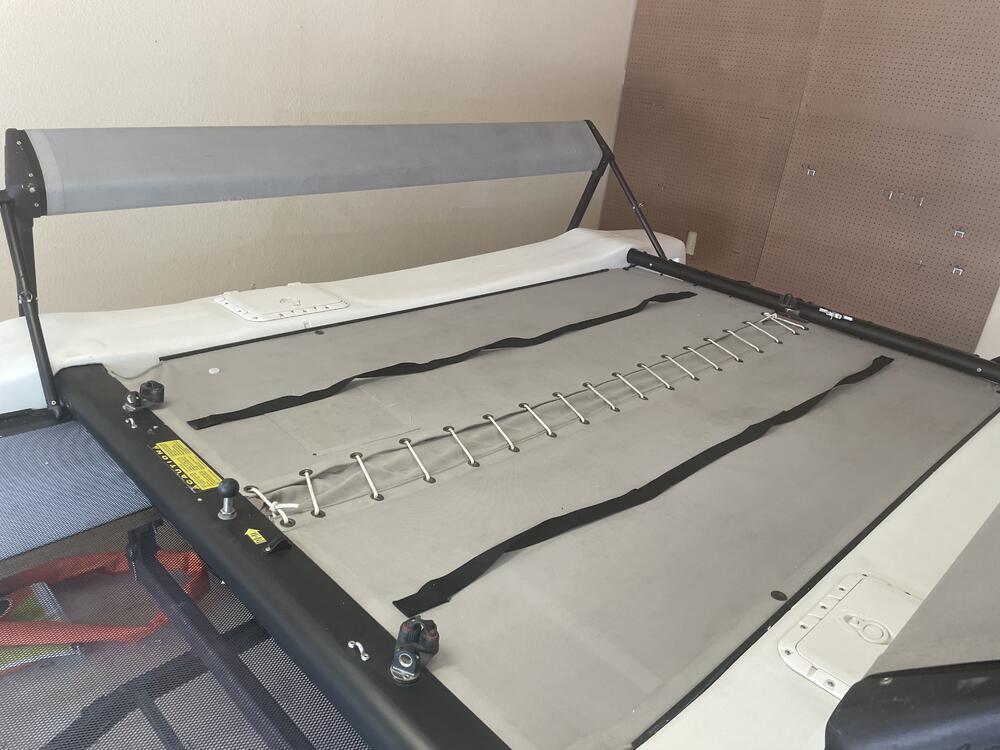
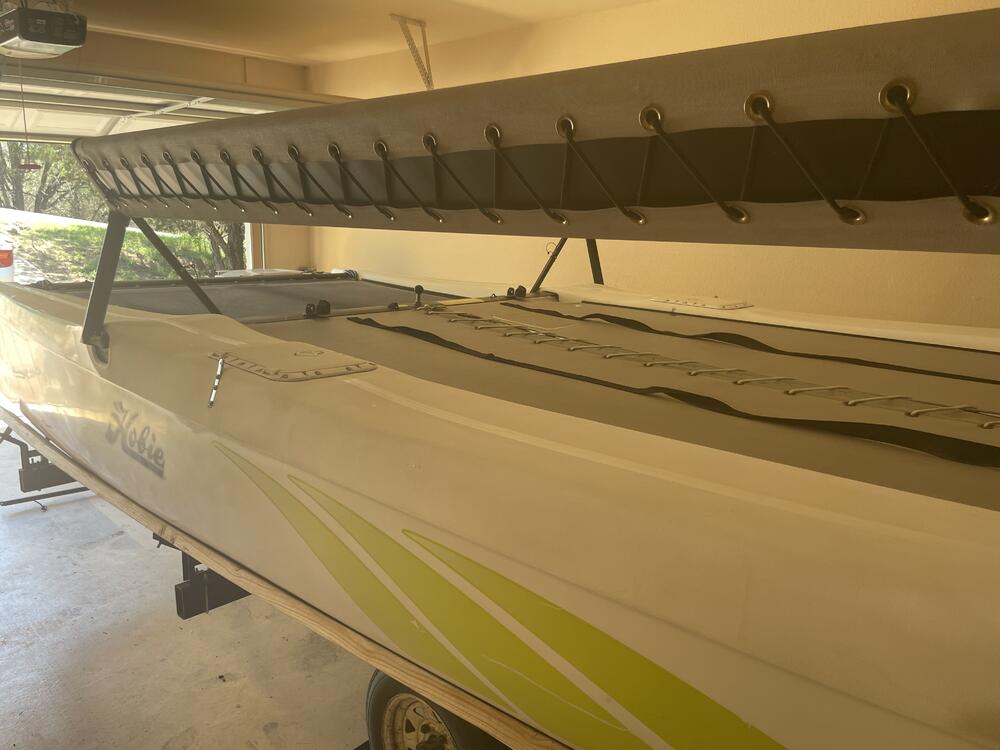
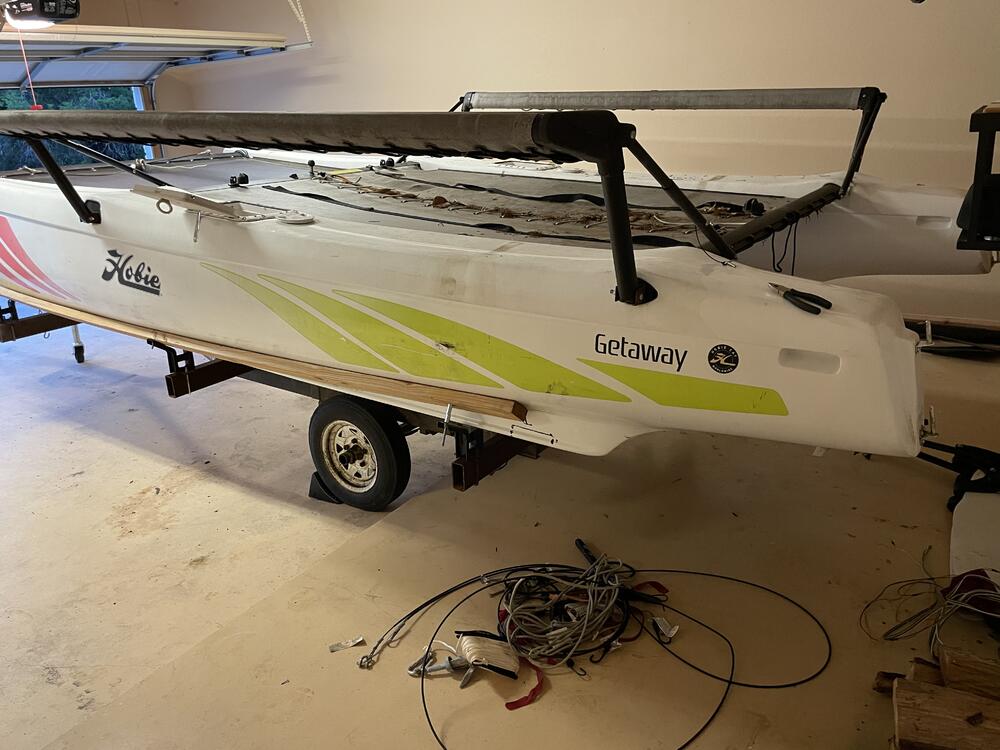
Cleaned up the boat a bit and re-epoxied the mast (comp-tip). Sadly McMaster-Care might have messed up my order (a first!) and I am missing two stainless steel bolts.. Barkeepers Friend worked quite well on the trampolines. I used 3M Perfect-It for both the anti-slip and sides - the Medium cut didn’t mess with the decals. Waiting for my new TX numbers to arrive in the mail..
-
I was always more of Jane Jetson type of guy.
-
Risky click?
-
So far, I really prefer the Sunfire. I am also dealing with a small hum due to the Rel sub being on a different circuit that the HT (perhaps combined with a very long cable run which I am using Jensen transformers over “ethernet” cable - CI-RJ2R). I am going to try this Air thing out at the main TV (which uses the Sunfire) and if works well might try with the HT.
-
Nice work Al! You almost could fit a ping-pong table in all that empty space!
-
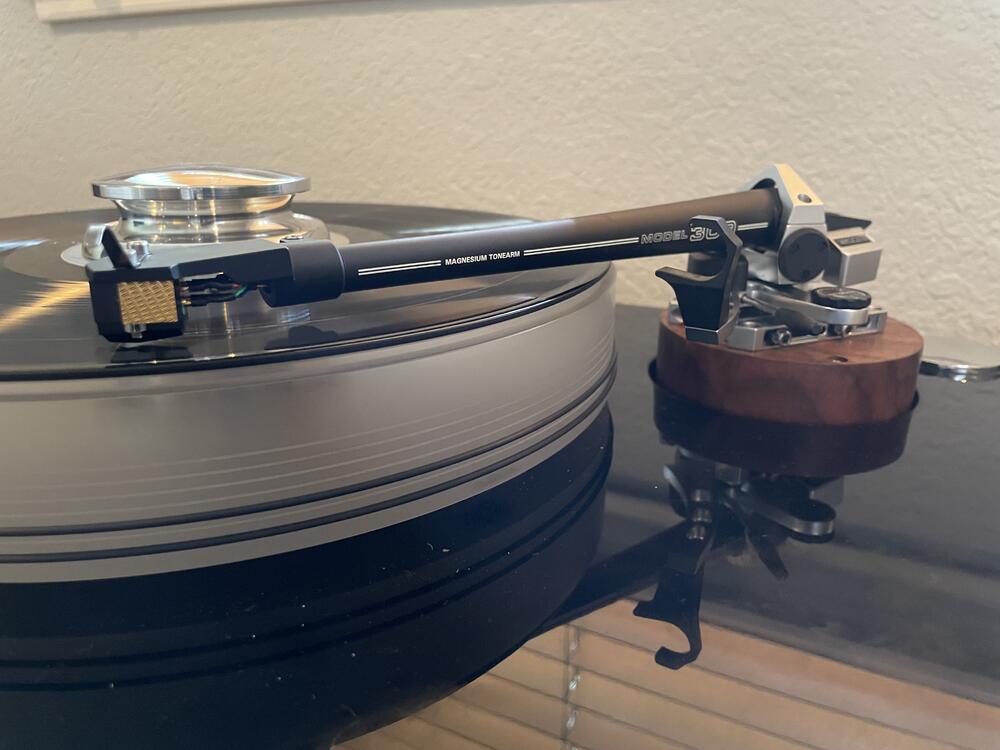
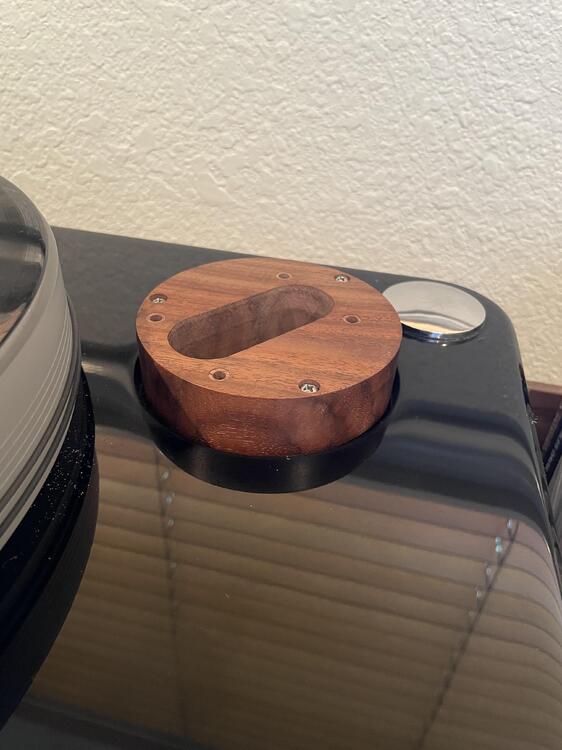
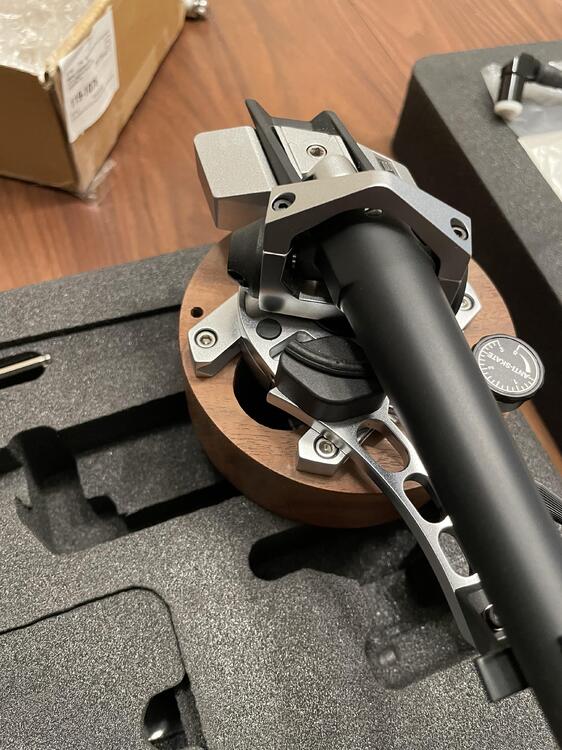
No time to finish the armboard, because it was the time for truth! Will it fit and can I get the arm aligned. Well I think so! The SME setup process is pretty complicated - lots of tiny judgments and adjustments needed but the engineering behind the arm is just wonderful! I am almost at the top of the height adjustment - so probably needed a little more height on the board. I would say it has about 1/8” left of adjustment room - I guess useful for those future 300g releases?
-
It fits! Well at least the arm does it slides nicely in the slot. The trick is the table is made for a 10.5” arm and putting a 9” arm on it. That made for some tricky math. I do need to make a change to the right angle DIN connector to make it a more favorable mating angle.. then hope it clears the bottom of the plinth. 🤞 is there some software that you can scan a diagram and and make very precise measurements? I transcribed this with a pair of calipers and a angle finder thing. It would be nicer to do that in the future with a few point and click operations
-
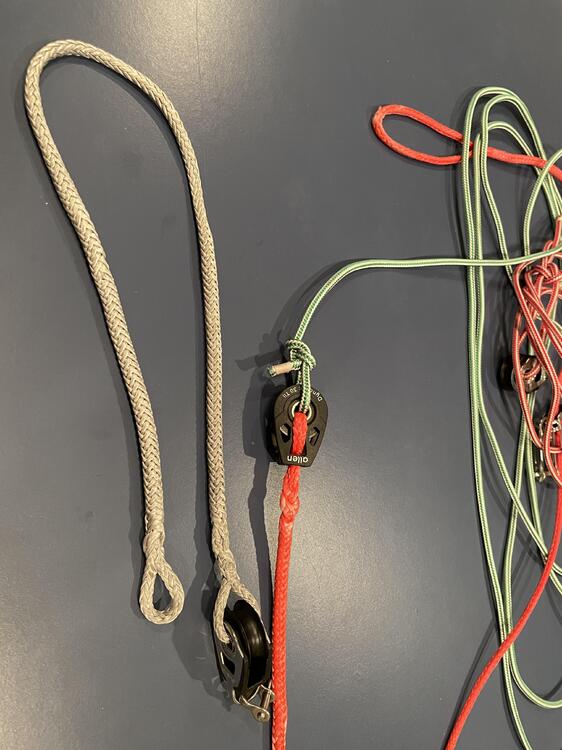
Built a bunch of new rigging for the Laser. Used lots of locking eye splices and designed it with shackles to cut down the rigging time. We had to cut the Cunningham after not being able to get a bowline knot out of the Dyeema when out in about 10 mph wind. Now that should be a lot easier. Just waiting on one more shackle and then hopefully we will be able to try it all out. You might look at Trailex (they build the Hobie branded trailers) as well as Genesis (but looks like only pick-up in Michigan) and Carnai. I think those are the usual choices other than custom. I imagine the issue though is hauling it not finding one that fit the kayaks…
-
Wow that’s great! We need a video of the paper making! Do you need both sides of the board to be parallel before you put it through the bandsaw?
-
How much do you loose due to the blade to dust?
-
I used that one on a turntable tachometer and it worked quite nicely. Are you just looking for a binary “yes” or “no”? In which case you might also want to use a comparator. I can post the schematic and board files for what I did, which also supports an optical sensor.
-
How about AH3377?
-
She needs a bit of a bath, as got caught in a bit of a downpour and then took a bit of a tree with her on the way into the garage, but…
-
The Lynx is super cool. I am curious how it stands up to boat wakes.
-
Awesome, those will be a ton of fun!
-
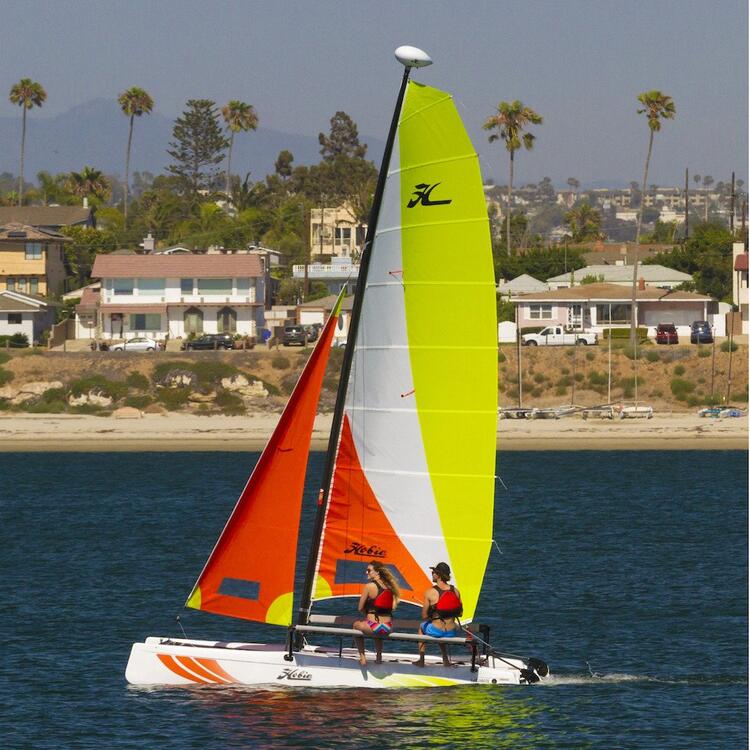
Thinking hard about a Hobie Getaway. Been too slow on the used ones near me and the local dealers don’t have any tricks to deal with Hobie’s horrible supply chain. Signed up for sailing lessons starting Th - excited about that!
-
Obviously custom-title worthy.
- 2,073 replies
-
- 1
-

-
- Golf Mafia
- M Sport
-
(and 1 more)
Tagged with:
-
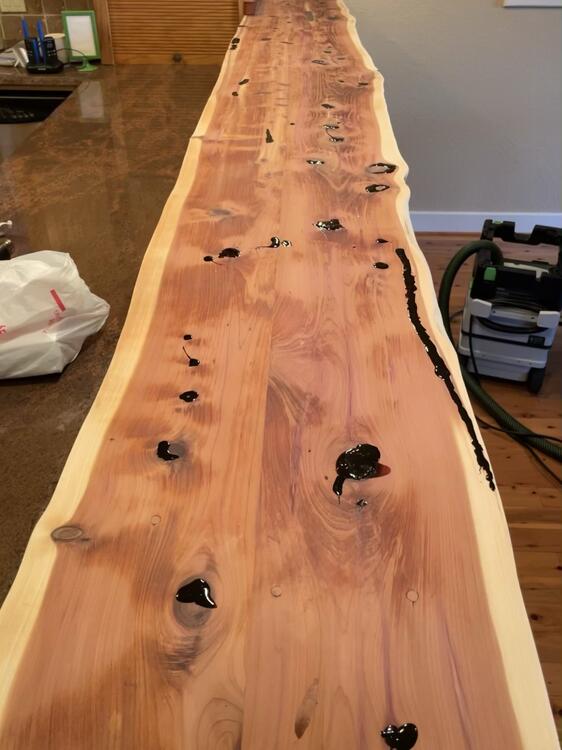
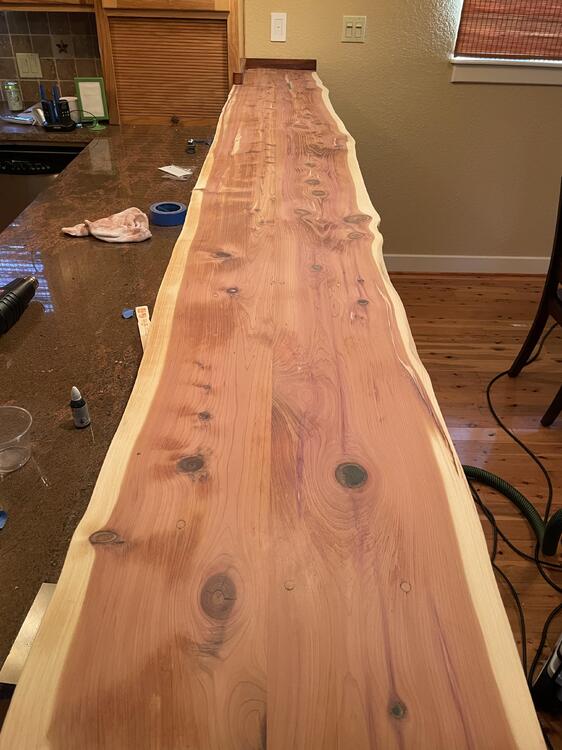
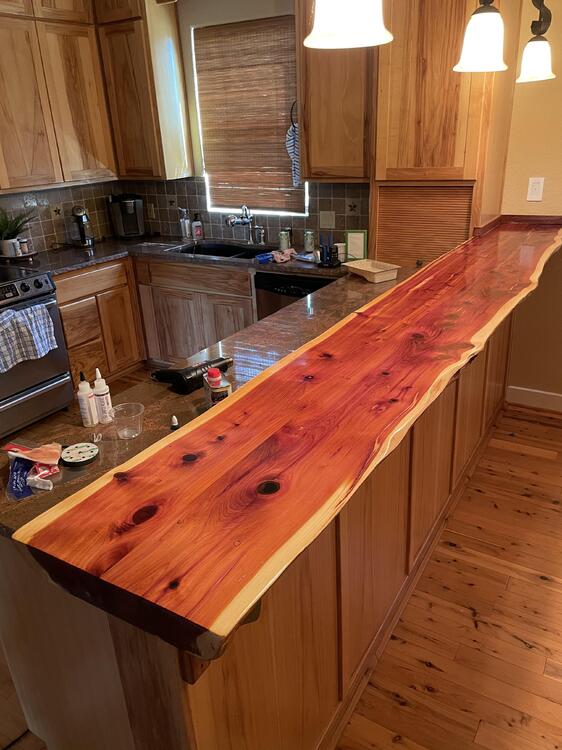
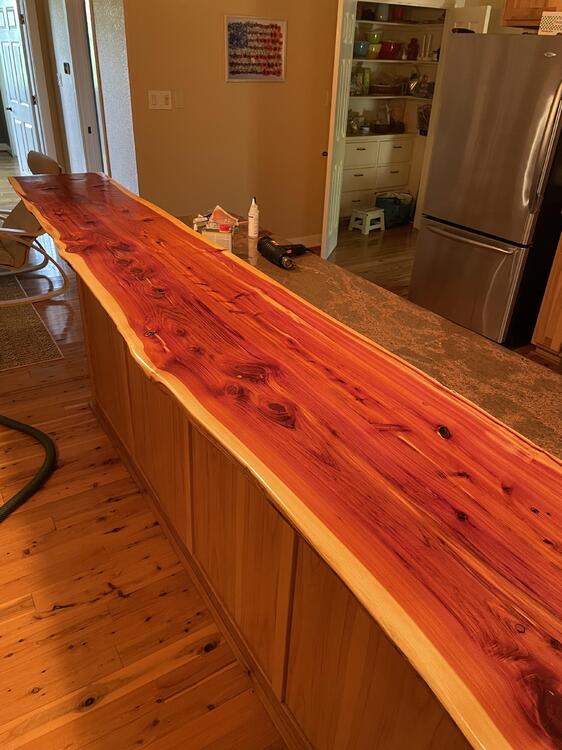
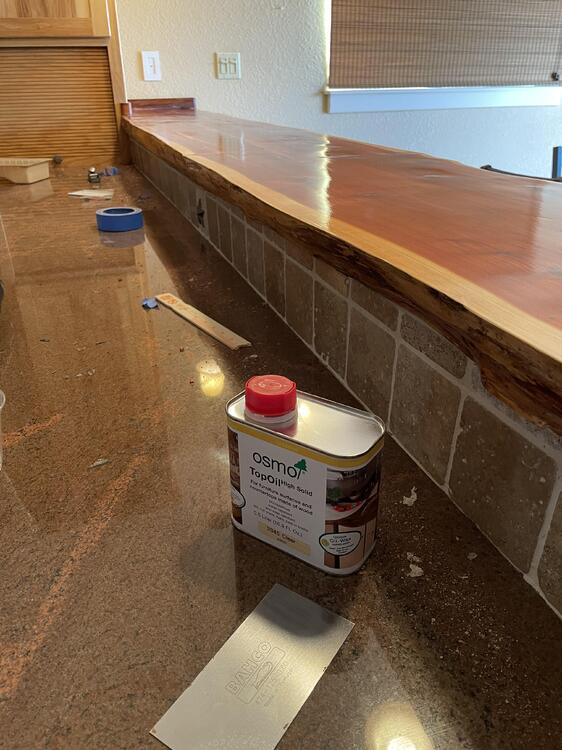
I tried the heat gun in the picture but the issue was the bubbles were inside the fill and the heat gun made the epoxy look scorched. Oh well, only one fill in the end had bubbles. When I tried to put another layer on top, it didn’t bind well. And when I scraped it, the entire second coat came off… This was the TopOil which is a lot thinner than the Polyx. It’s a very odd substance, it is very hydrophobic - very hard to get off your hands with water. I also in testing found the directions on the can didn’t work as well. I ended up applying the first coat pretty thick with a synthetic pad. In my tests that worked better than the usual thin rubbed on coat. I haven’t been back to check on it but hopefully will get to it later this week.
-
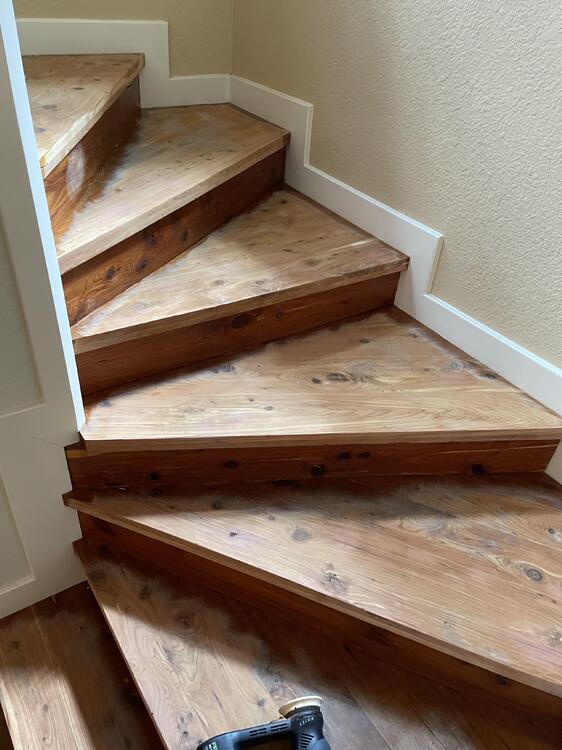
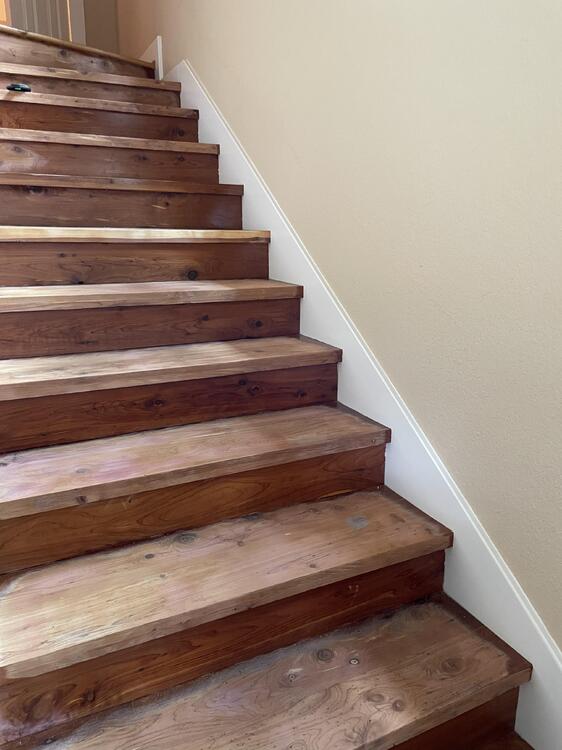
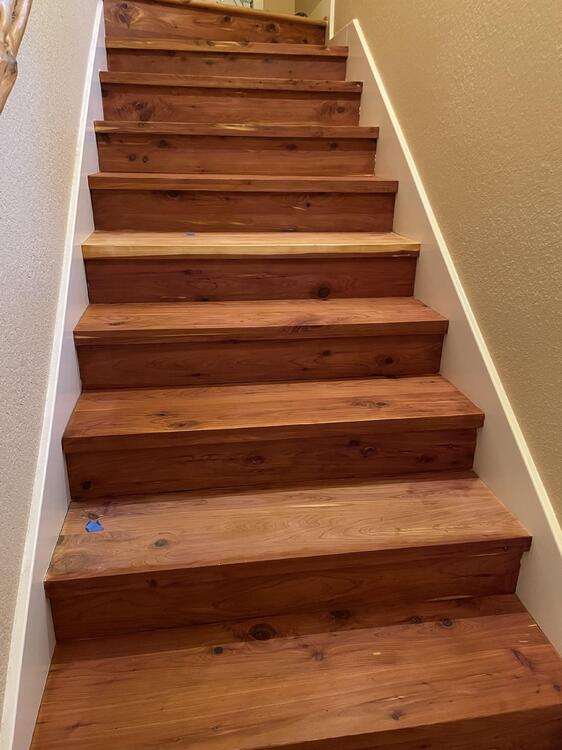
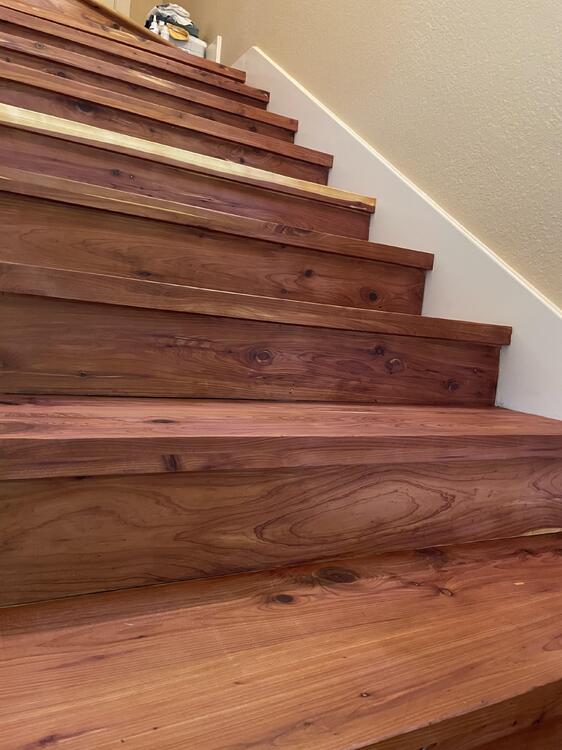
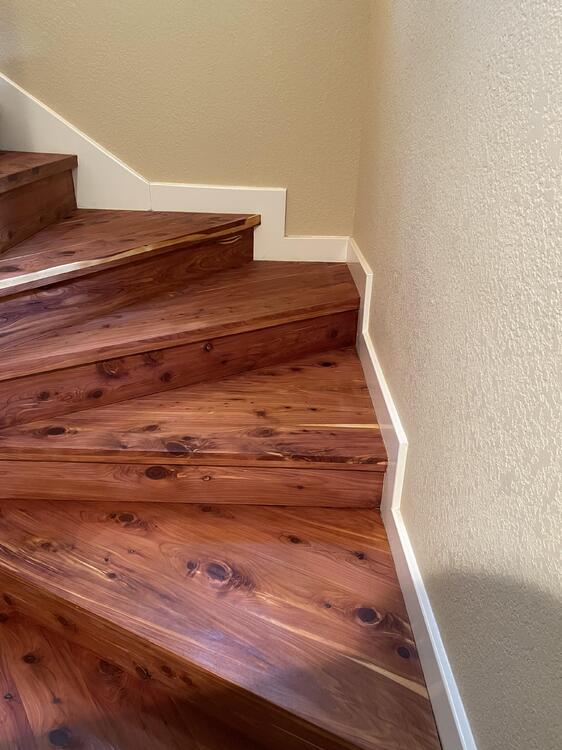
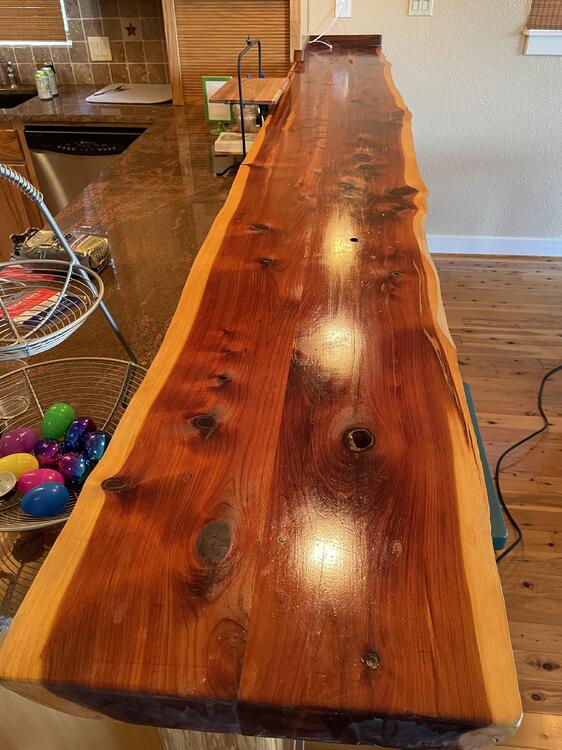
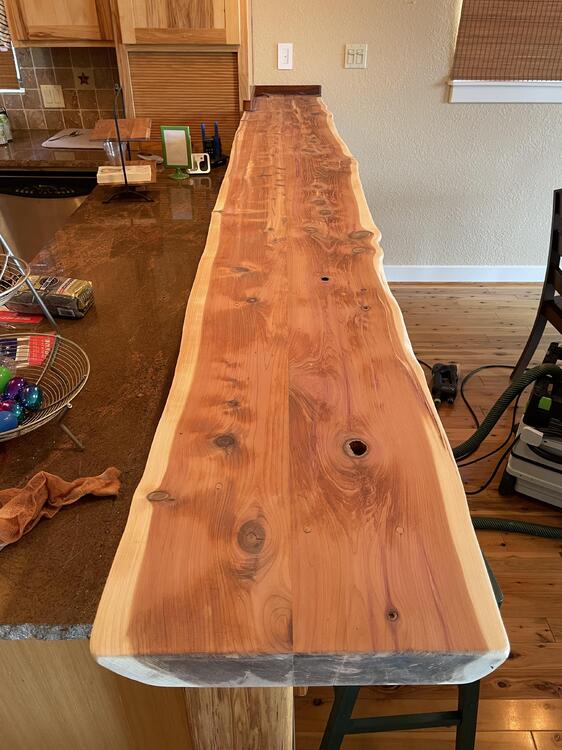
Started with this then made it look like this then decided to play with chemicals then made it look like this via a probably Doug approved implement called a card scraper, then put the first coat on! probably will do another coat, might sand between coats? I am not sure what is recommended with this Osmo stuff… But; it looks ok! - I found out that if you get bubbles in the epoxy it’s doesn’t quite work to just put another layer on top. Also the really shallow flaws didn’t hold the epoxy well. I kinda wanted a contrasting jet black color in the various cracks and crannies and it looks pretty decent! There were some knotholes that went all the way through the plank and those took the epoxy really well.
-
Do both options have the same experience when used via Roon? Specifically, metadata, album art, etc.?
-
Depends how much he dicks around.
-
Still smiling about this one
-
Awesome! I tried a “remote” thermistor (Murata NCP18XH103) and ended up just using a LM234 and some resistors.


