-
Posts
597 -
Joined
-
Last visited
-
Days Won
2
Content Type
Profiles
Forums
Events
Everything posted by Laowei
-
Any advantages to do this?
-
Keeping paperwork updated can be a major PITA. Especially projects strung between separate people. Thanks for clearing it up, and making your mini T2 available to us DIYers, Joachim!
-
Deleted. Schematic link updated. Thanks Joachim!
-
Thanks Jose!
-
What are the board dimensions?
-
Do the 2K trimmers also help in adjusting/minimizing output balance?
-
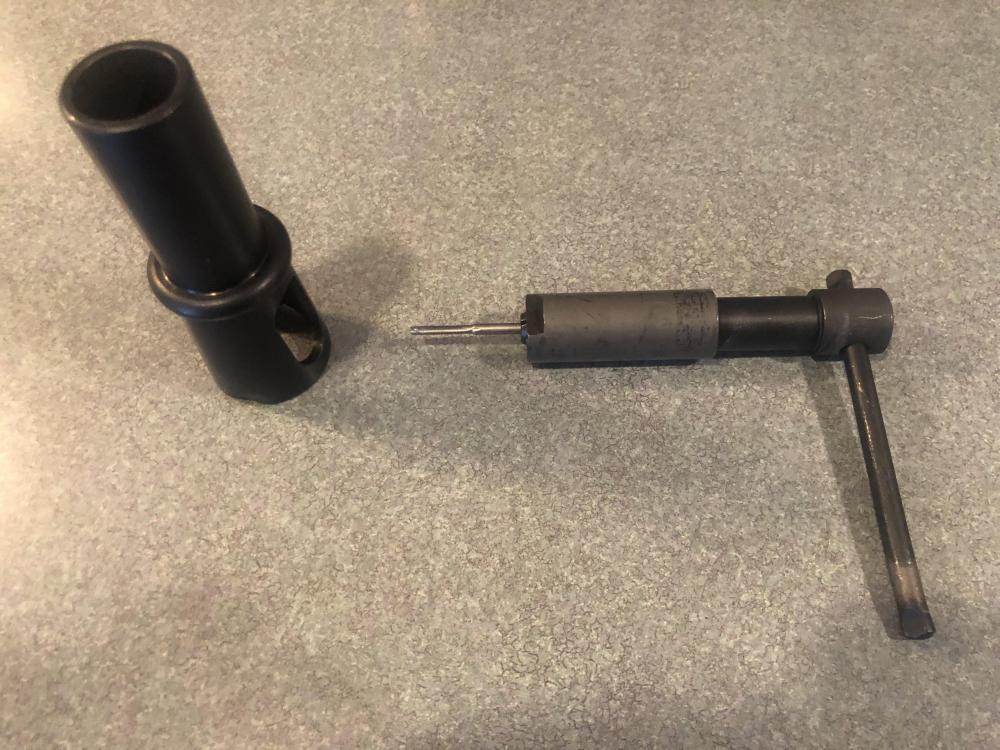
My biggest concern hand tapping was snapping off in the hole due to angular misalignment. That should not happen with the Shars tool. ? I think you will like it when you use it. It works very well for what it was intended for. Thx to Kerry for sharing.
-
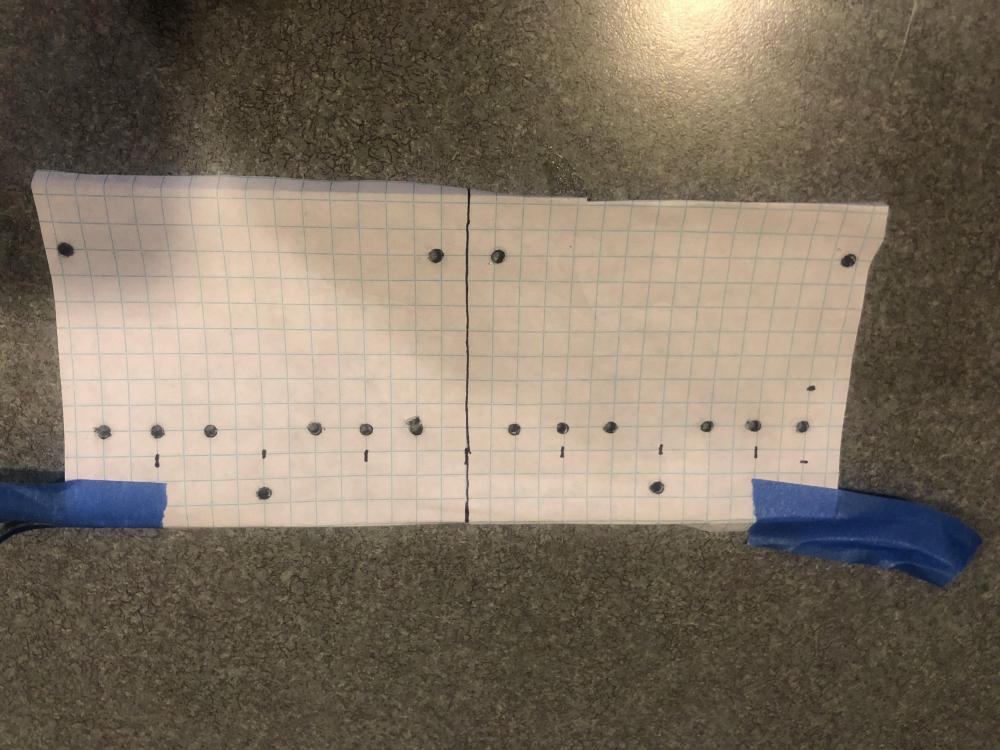
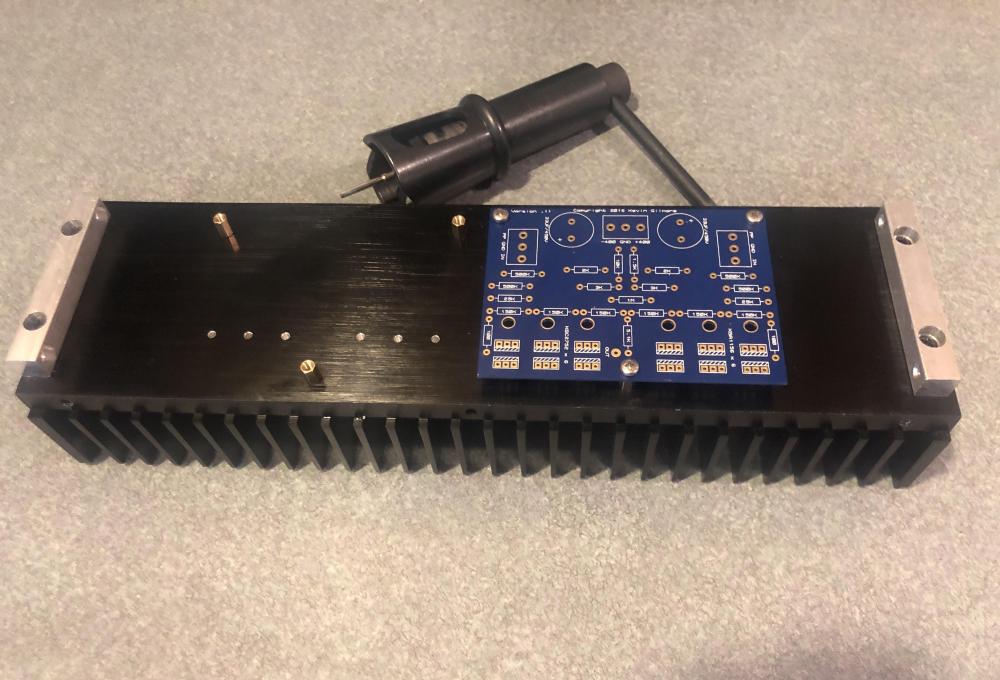
This is one way to do it. Position the PCBs in the pattern/spacing you want on graph paper. Transfer draw holes to be drilled aligned on the graph grid. Add centerline of pattern to grid. Then cut down paper and use centerline and grid to position on heat sink and tape it down securely. Then locate PCBs on graph grid drawn holes and tape down. Use centerpunch in PCB holes to dimple heat sink to prevent drill wandering. I leave the grid paper and PCB there to act as a visual template when drilling. I use a cheap Harbor Freight desktop drill press to get the tap drill holes drilled perpendicular to the heat sink face. For M3x0.5 threads I use a 3/32 (.094) inch tap drill size. I preset the stops for a drill depth to around 6-7mm, as to not break out the other side of the heat sink. And then drill all the holes. Pull the PCBs and graph paper off and deburr the drilled holes so that the rough edges are flush with the heat sink surface. Then mount a M3x 0.5 bottoming tap in the Shars tap holder (the T handle shaped piece). Slip it into the Shars alignment stand (this holds the T handle piece perpendicular to the surface), and then using a little light lubricant, carefully hand tap each hole drilled. After each full turn of the tap, back turn 1/4 turn to cut off the internal chip. Repeat until you can remove the tap and easily screw in the length of the machine screw used for assembly. FYI, I cleaned the cheap shipping lube off the sliding parts of the tap holder because it was squeaking badly when used. Replaced with a little Never Seize and now it spins without a peep.
-
Recieved my Shars Tap Holder this afternoon. Put it to use on a CF electrostatic amp I have been putting off working on because I dreaded tapping threaded holes by hand. It really works slick and the results came out great. Thanks for posting this Kerry. Nothing beats the right tool for the job.
-
Inspiring work, JoMat! Did you do any matching on the transisters?
-

Megatron Electrostatic Headphone Amplifier
Laowei replied to kevin gilmore's topic in Do It Yourself
Nice build! -

The Knuckledragger 3rd Memorial Slow Forum Post
Laowei replied to Knuckledragger's topic in Off Topic
“I’d like this made into Raccoon McNuggets. Sure, I can wait.” https://www.sacbee.com/news/state/california/article224206910.html -
For each channel. from the amp’s input female RCA panel jack, connect the center positive signal to “I +” on the KGSSHV Carbon PCB’s screw terminal block, and “I -“ connected to GND. The Carbon’s differential input circuit will do the rest. As Helium noted, there will be less volume available. Around 6dB loss of sensitivity. Shouldn’t matter at all.
-
Spot on. Woo just notified they will be in stock in the US in 2 weeks. Cost: $70 shipped. Wish they would release the .stl files so could just 3D print ‘em, instead of being Jack’ed around.....
-
Where did that number come from?
-
STAX announced new closed sealing covers and ear clips (eliminating the wire headband) for retro fitting existing SR-001mk2, SR-002 and SR-003/003mk2 IEMs. Supposedly the CES-A1 combo will be available in Japan mid-December. https://stax-international.com/products/ces-a1/
-
FYI -all sand parts currently in stock at Mouser.
-
What’s your opinion on the sound quality of these Shure in-ear electrostats vs the STAX SR-002/SR-003mk2? The Shure have to be less painful to wear.
-
RIP, Douglas Rain. Voice of HAL in 2001: A Space Odyssey
-
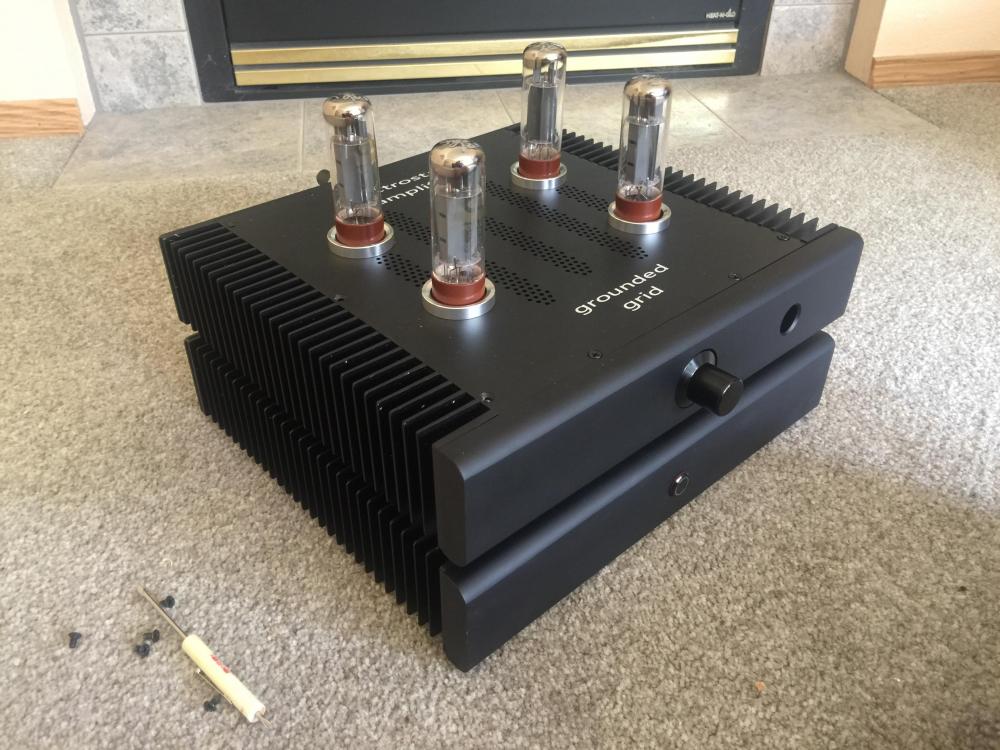
You might consider contacting @joehpj . He has developed a two case solution for both KGHV Carbon and Grounded Grid amps. If he still has the bare cases available, it makes for a clean looking finished amp at a very attractive price. My GG in the photo. Carbon looks similar without tubes protruding.
-
Thanks. I’ll give Digikey my order. Looks like I’ll have all the parts to try the little amp out. I’ll repurpose the PS from my KGST to power it. Thanks for the resistor confirmation. The BO slide on that BJT is not too encouraging...
-
FYI, PBHV9560, PBHV8560, KSA1156 are all in-stock at Mouser and shipping. KSA2752 are still BO until November.
-
Great!


