jdkJake
-
Posts
48 -
Joined
-
Last visited
Content Type
Profiles
Forums
Events
Everything posted by jdkJake
-
The towel is a good idea. I always use a towel to cover the top seam. Sounds like you need to prep you box a bit more. Either tape or paint the top edges to prevent them from rubbing and creating dust particles. Be aware though, there are limits to what a simple box can control. You will never get a completely dust free environment using a box. The goal here is to minimize the effects. As for dry time, the can is pretty spot on save for the humidity issues in FL. This time of the year, that is not a big issue. During the summer, you have to add to the dry time. Typically, for this time of year, dry time is 2 to 4 hours for dry to touch with 5 to 10 for dry to handle. I just usually wait overnight.
-
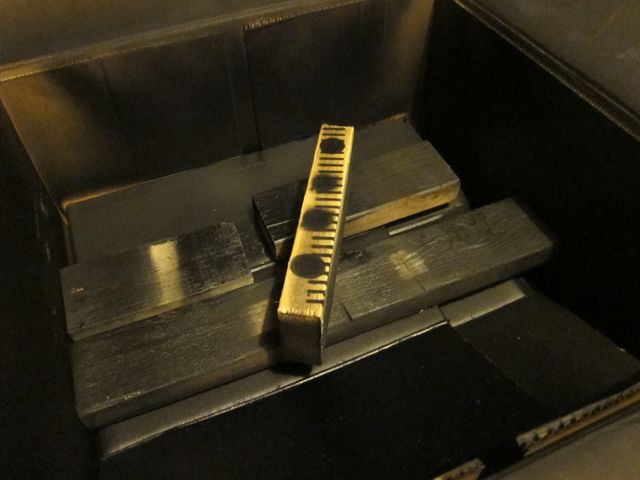
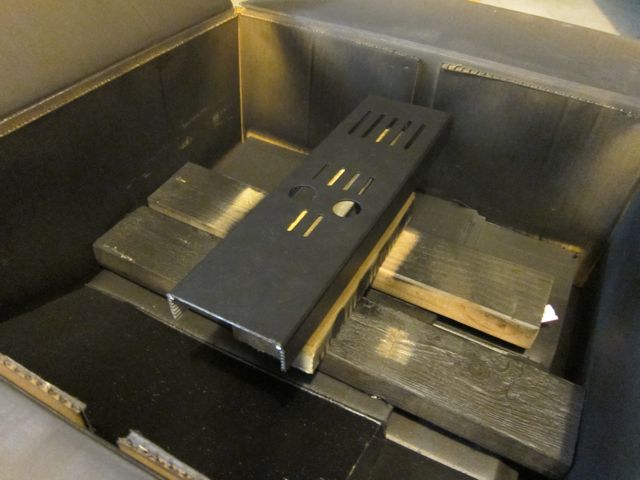
So, I would avoid the string/hanging concept if possible. Far too much potential for movement. You want a solid, firm foundation for the part to be painted. The goal will be to elevate the piece high enough to get a clean shot with the spray can, yet, still allow you to close the box to minimize the effects of random dust. Since I have the lid off anyway, the pics enclosed below are a simulation of what I mean. In this way, you have complete access to the piece to be painted while not allowing any one edge to be obscured or obstructed from a clean shot. I have to assume, since you went to Home Depot for supplies that you are using Rustoleum spray. My weapon of choice. With that paint, you can apply a light coat and re-coat in about 30 to 45 minutes with another coat. Don't go too much longer, otherwise, wait a day (or at least overnight) and lightly (and I mean lightly) sand and spay another coat. This is always your fall back position. Let it dry, lightly sand with no less than 220 (320 might be better) and re-coat until the texture and depth of color is what you are looking for. This is true regardless of color. This is the beauty of DIY, just take your time and do it as many times as it takes until you are happy with the results. You cannot rush paint. It takes as long as it takes. If you mess up or or are unhappy with the results, sand/strip it off and start again. Good luck to you! Looking forward to the end the results.

-
Yes, dripping is a sign of too much paint. Light coats, spaced in time (according to the paint being used) works best. Start the spray off of the part and move smoothly over the part and completely off before stopping the spray. Never start or stop the spray on the part itself. Keep your speed across the part as well as the paint flow as consistent as possible. Alternate spray patterns in a consistent manner. Work parallel and then perpendicular to the part while ensuring you stop and start off the part itself. Take your time. Most sprays are best applied using a very light coat, wait about 1/2 an hour or so and then apply another light coat. Then stop. Allow those coats dry (as long as overnight depending upon the paint) and repeat until you get the depth of color desired. Again, the choice of paint has a lot to do with it, so, check the instructions with the paint. They tend to be spot on in terms of application instructions. As far as drips and runs go, over time, you will learn how much you can get away with before accumulating too much paint. Be advised, each coat will require less paint and increases the chances for drips and runs. The amount of spray will decrease (or should decrease) with each successive coat.
-
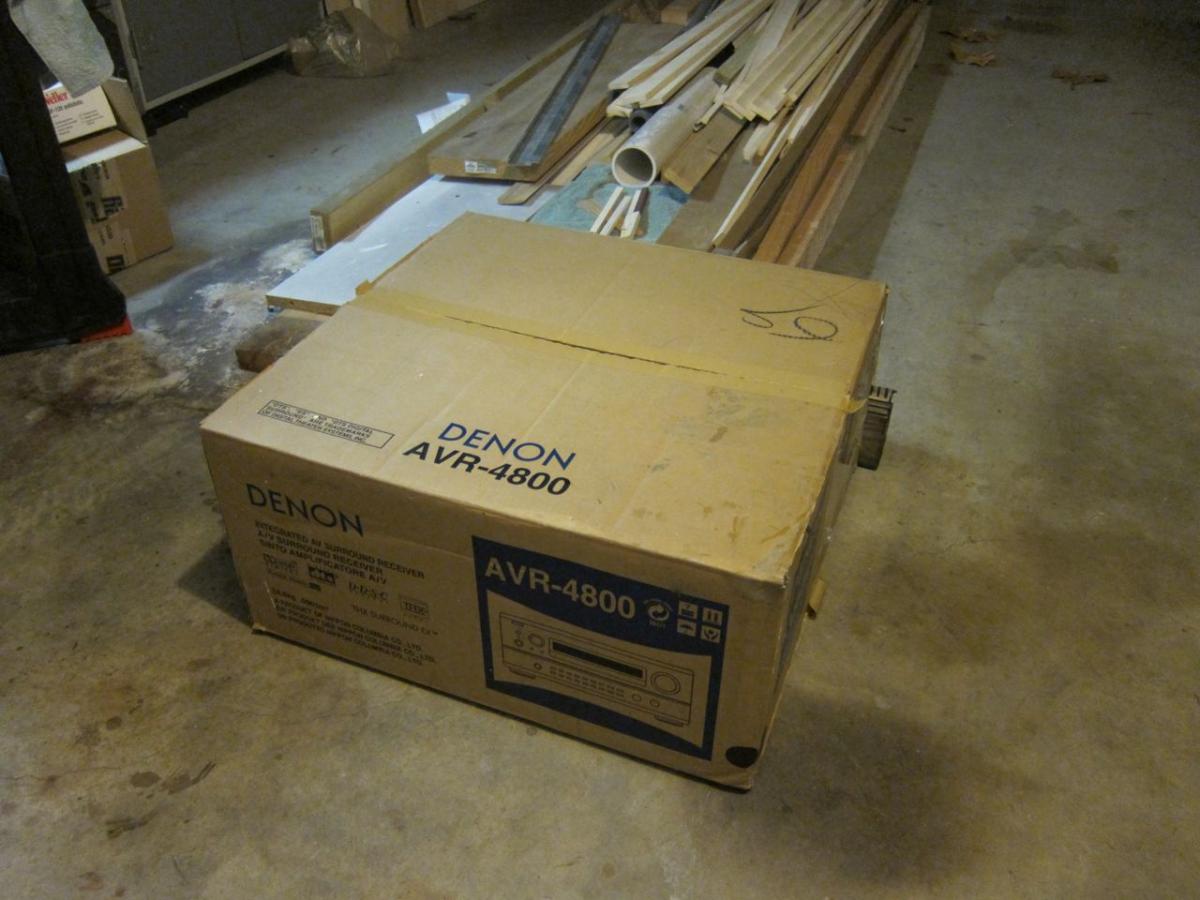
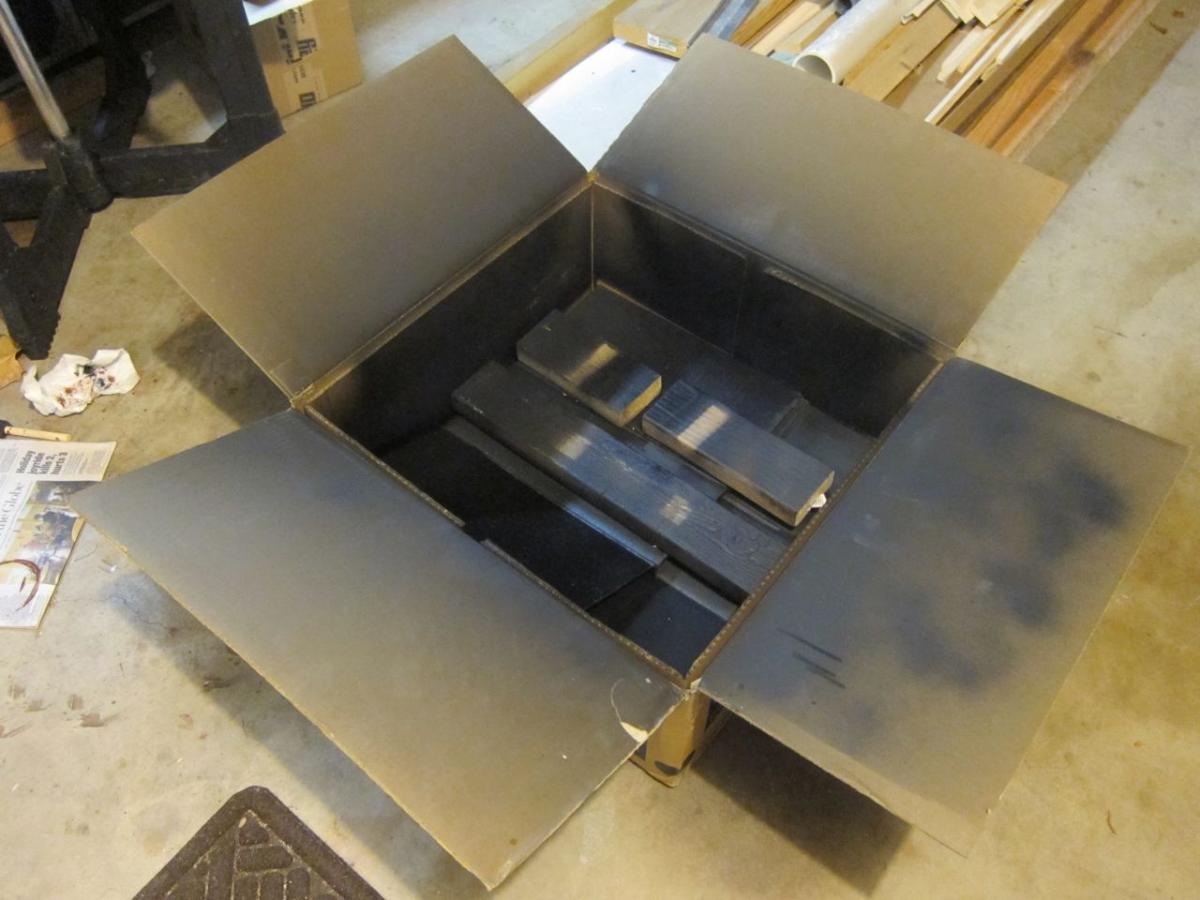
Ouch, bad karma dude. What did you feed the ducks? Seriously, the advice given by swt61 is good. The rules of 100 will serve you well. Start with 120 grade sandpaper followed by 220, and finish with 320 til it is smooth and clean. The chemical stripper will work as well, but, be advised, the stuff can be more trouble than it is worth. It all depends upon how thick the paint is and how long it has been allowed to dry/cure. Be sure to use in a well ventilated place. Nasty fumes. My advice to you in the future is to fashion a paint chamber. You put the part to be painted in the chamber, apply a coat and then close it up quick. Cover it with towels until the next coat. Cheap, works well and scales even better. A couple of pics are attached of what I used for my last several projects (both amp related and not so much). It scales well for even larger material, just get a bigger box! Hope this helps. BTW, friendly advice, stop feeding the ducks, nothing good will come of it. We learned that the hard way in our neighborhood.
-
Gotta admit, never thought I would learn this much about Icelandic customs and tax law while just trying figure out if the LCD-3 sound matches it's price. Wow, what a wild ride....
-

KGSSHV, Balanced Dynahi Rev A and DynaFET board run
jdkJake replied to Lil Knight's topic in Do It Yourself
I would like one set as you stated it (2 amp boards + 2 PSU boards). I am open to multiple payment options (direct bank-issued check? MO?) if you want to avoid the whole paypal debacle. Just let me know. -
KGSSHV, Balanced Dynahi Rev A and DynaFET board run
jdkJake replied to Lil Knight's topic in Do It Yourself
Lil Knight, At the end, if you still have a dynaFET set and two PSU boards available, I would be more than happy to purchase them. Absolutely no hurry and I completely understand if they have all been committed. I am way late to the game! Thanks -- jk -- -
Thanks for the edit tip. I did not know that. No, these do not have threads. I read the original post to say parts like those above or something similar but with threads. I now see it could have been read as only looking for those parts or similar but with threads.
-
I would have added this via edit, but not working correctly for some reason. At home depot, these are Gardner Bender mounting bases. Come in white or black.
-
Home depot has those same tie downs.
-
Double post, sorry.
-
Showing your age my friend. (or did I just show mine?)
-
In small, deliberate doses, flux can be a wonderful tool. However, like all tools, there is potential for misuse and abuse. A little goes a long way. Flux makes tinning wire effortless and can help speed up the soldering process on heat sensitive parts. That alone makes it invaluable. I prefer liquid in a pin-bottle over paste and pen. Just remember a little goes a long way.
-
Looks to be a great new project. I am most interested in hearing a transformer-coupled design. Let me know if you need more volunteers in the next round of prototypes. My soldering iron and I are standby (along with my wallet) ;-) jk