

Leaderboard
-
Grahame
High Rollers12Points16758Posts -
Dusty Chalk
Moderators9Points49053Posts -
blessingx
High Rollers7Points17656Posts -
TMoney
High Rollers6Points4688Posts

Popular Content
Showing content with the highest reputation on 08/01/26 in Posts
-
6 pointsProperly slammed, and with fresh bar tape. She is ready for the Marin Century tomorrow… hopefully I am too!
 6 points
 -
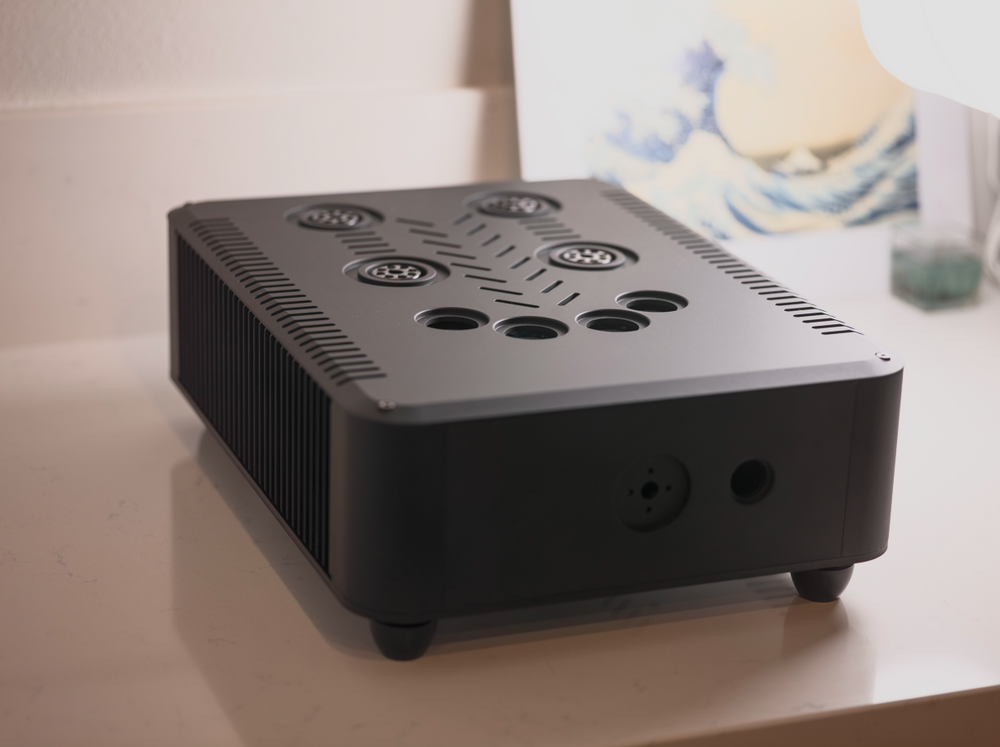
4 pointsAfter about a year of work, I've finally finished redesigning the PCB layout for the original T2. The new layout supports several different active battery implementations, as well as multiple CCS options, making it much more flexible for different builds and future experimentation. I've also completely redesigned the chassis. Like the original concept, it will still use a two-chassis configuration, with the power supply and amplifier housed separately. It's been a long project, but it's exciting to finally see it coming together. I'll share more photos and progress updates as the build moves forward.


 4 points
 -
2 points2 points2 pointsThe Weather and the parking gods smiled on us as we got to show Sue why Big Sur and Highway 1 have the reputation they do.


 2 pointsVery much my vibe.2 pointsI did make one but the thick film SMD resistors drifted with temperature so it made it unstable. Maybe with MELF resistors it'll be better.1 point1 point1 pointThe Instrument Made Famous by Scott LaFaro Has Lived a Long, Storied Life https://stringsmagazine.com/bass-legend-the-instrument-made-famous-by-jazz-musician-scott-lafaro-has-lived-a-long-storied-life/1 pointIt's out (a little early). DOMi & JD Beck's Who Asked? Ex.
 1 pointXiu Xiu* Plays the Music of Twin Peaks *'... they wrote their first Xiu Xiu song after leaving a San Jose dance club alone on a Christmas night: "Xiu Xiu came from feeling stupid and lonely and then wanting to dance it away, but having the club and its music only magnify that stupid and lonely feeling."' For the more adventurous there is their The Promise release, though I can't say it's more interesting.
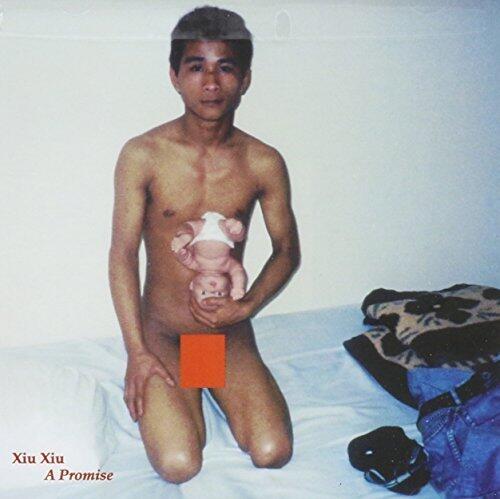 1 point1 point1 point1 pointQuiet birthday dinner for Melissa before larger plans, including a comedy show, this weekend. Speaking of comedy we strangely found birthday Covid cards in 2026.
 1 point1 pointInferno & Paradiso https://petapixel.com/2026/07/30/photographers-reveal-the-most-painful-and-hopeful-images-theyve-ever-taken/
 1 point1 pointES Labs are cooking something good. 😃 https://www.instagram.com/p/DbBxCZOTJCE/?igsh=MXBuZDUyejU0c3pzeQ==1 point


Important Information
By using this site, you agree to our Terms of Use.
Account
Navigation
Search
Configure browser push notifications
Chrome (Android)
- Tap the lock icon next to the address bar.
- Tap Permissions → Notifications.
- Adjust your preference.
Chrome (Desktop)
- Click the padlock icon in the address bar.
- Select Site settings.
- Find Notifications and adjust your preference.
Safari (iOS 16.4+)
- Ensure the site is installed via Add to Home Screen.
- Open Settings App → Notifications.
- Find your app name and adjust your preference.
Safari (macOS)
- Go to Safari → Preferences.
- Click the Websites tab.
- Select Notifications in the sidebar.
- Find this website and adjust your preference.
Edge (Android)
- Tap the lock icon next to the address bar.
- Tap Permissions.
- Find Notifications and adjust your preference.
Edge (Desktop)
- Click the padlock icon in the address bar.
- Click Permissions for this site.
- Find Notifications and adjust your preference.
Firefox (Android)
- Go to Settings → Site permissions.
- Tap Notifications.
- Find this site in the list and adjust your preference.
Firefox (Desktop)
- Open Firefox Settings.
- Search for Notifications.
- Find this site in the list and adjust your preference.